

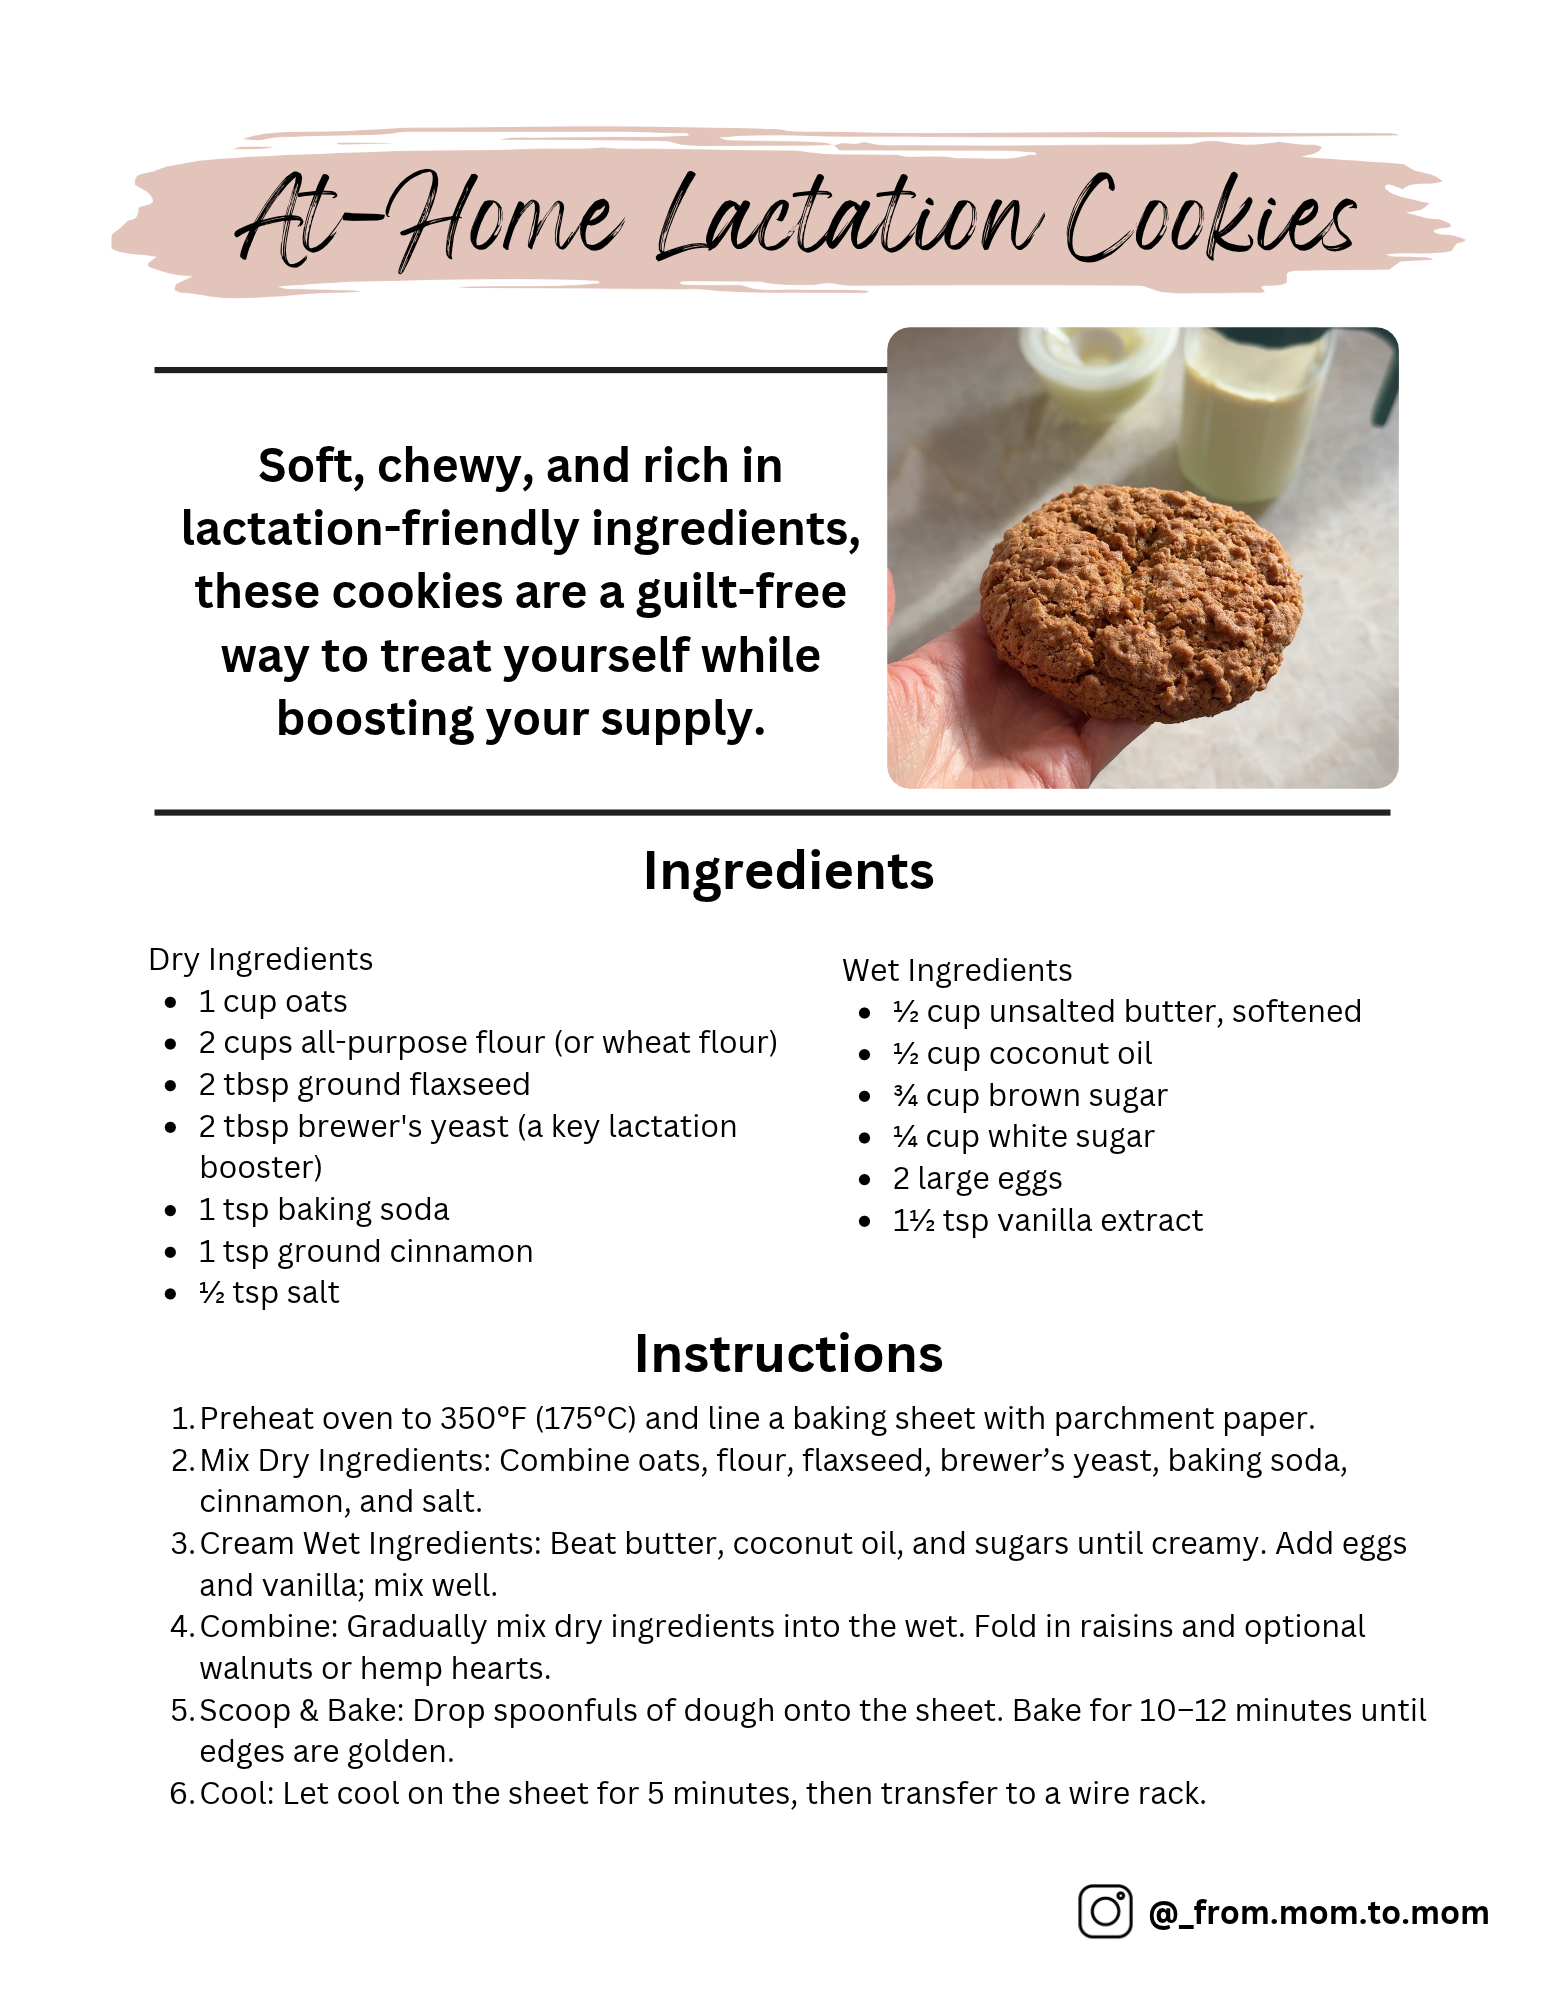
When you’re feeding a baby, reheating the same cup of coffee, and trying to squeeze in a meal, having an easy snack ready can make your day a little easier. These homemade lactation cookies combine oats, ground flaxseed, cinnamon, and vanilla for a comforting treat you can grab between nursing sessions or while pumping.
With simple ingredients and plenty of room for your favorite mix-ins, they’re a great recipe to prepare before baby arrives—or bake for a new mom who could use a little extra love.
Do Lactation Cookies Increase Milk Supply?
Let’s talk about expectations first: lactation cookies can be a convenient snack, but they aren’t a proven way to increase milk supply. A 2023 randomized trial found that the lactation cookies studied did not increase milk production compared with regular cookies in exclusively breastfeeding parents who generally perceived their supply as adequate. This particular homemade recipe has not been clinically tested.
If you’re concerned about your supply, a lactation professional can help evaluate feeding, pumping, and possible underlying causes. Cookies can be part of your snack routine while you get the support you need.
What’s in These Lactation Cookies?
Oats: Give these cookies their hearty texture. Old-fashioned rolled oats work well for a chewier cookie.
Ground flaxseed: Mixes easily into the dough and adds a mild, nutty flavor.
Brewer’s yeast: A traditional ingredient in lactation-cookie recipes. It can taste bitter, so choose a debittered variety intended for food use. It is not interchangeable with active dry yeast used for bread.
Butter and coconut oil: Bring richness to the dough. Use softened butter and soft, scoopable coconut oil for easier mixing.
Cinnamon and vanilla: Add a warm flavor that pairs beautifully with raisins, walnuts, or chocolate chips.
Homemade Lactation Cookies Recipe
Oven temperature: 350°F
Bake time: Approximately 10–12 minutes per batch
Yield: Varies with scoop size
Dry Ingredients
1 cup oats
2 cups all-purpose flour, or whole wheat flour
2 tablespoons ground flaxseed
2 tablespoons brewer’s yeast
1 teaspoon baking soda
1 teaspoon ground cinnamon
½ teaspoon salt
Wet Ingredients
½ cup unsalted butter, softened
½ cup coconut oil, soft but not hot
¾ cup packed brown sugar
¼ cup white sugar
2 large eggs
1½ teaspoons vanilla extract
Optional Mix-Ins
Your original recipe mentions raisins, walnuts, and hemp hearts without specifying amounts. As a starting suggestion, try:
½ cup raisins or chocolate chips
¼ cup chopped walnuts or 2 tablespoons hemp hearts
You can also leave the mix-ins out for a simple cinnamon oatmeal cookie.
Instructions
Prepare your oven and baking sheets. Preheat the oven to 350°F. Line baking sheets with parchment paper.
Combine the dry ingredients. In a medium bowl, stir together the oats, flour, ground flaxseed, brewer’s yeast, baking soda, cinnamon, and salt.
Cream the fats and sugars. In a separate large bowl, beat the softened butter, coconut oil, brown sugar, and white sugar until creamy.
Add the eggs and vanilla. Beat in the eggs and vanilla extract until combined.
Mix the dough. Gradually add the dry ingredients to the wet ingredients, mixing just until incorporated. Fold in any optional mix-ins.
Scoop onto the baking sheets. Drop rounded tablespoons of dough onto the prepared sheets, leaving about 2 inches between cookies. If the dough feels very soft or oily, chill it for 20–30 minutes before scooping.
Bake. Bake for approximately 10–12 minutes, until the edges are lightly golden and the centers look set. Larger cookies will need additional time.
Cool. Let the cookies rest on the baking sheet for 5 minutes before transferring them to a wire rack.
Tips for Soft, Chewy Cookies
Measure flour gently. Spoon it into your measuring cup and level it off. Packing flour into the cup can make cookies dry.
Watch the first batch closely. Ovens and cookie sizes vary, so use the appearance of the cookies along with the timer.
Start with all-purpose flour. Whole wheat flour gives a heartier texture and may produce a denser cookie. For a gentler swap, try replacing half the all-purpose flour with whole wheat.
Bake a test cookie. If it spreads more than you’d like, chill the remaining dough before baking the next batch.
How to Store Them
Once completely cooled, keep the cookies in an airtight container at room temperature and enjoy within about 3–4 days for the best texture.
For longer storage, freeze cooled cookies in a freezer-safe container with parchment between layers. Use within about 2–3 months for best quality, and thaw individual cookies whenever you want an easy snack.
Frequently Asked Questions
How many lactation cookies should I eat?
There is no established number of cookies that increases milk supply. Enjoy them as you would any other cookie, based on your appetite and preferences.
Can I leave out the brewer’s yeast?
Yes. You can omit it if you dislike the flavor or prefer a simpler oatmeal cookie. There’s no need to replace it with bread yeast.
Can people who aren’t breastfeeding eat them?
Yes! These are cookies made with ordinary food ingredients. Anyone who can tolerate the ingredients can enjoy them.
Are these dairy-free or gluten-free?
As written, the recipe contains dairy, wheat, and eggs, plus nuts if you add walnuts. Making an allergy-friendly version requires checking every ingredient, including the oats and brewer’s yeast, and using suitable substitutions. Substitutions may change the texture.
A Little Something for Mom
Whether you’re nursing, exclusively pumping, combination feeding, or baking for a friend, these homemade lactation cookies are a sweet way to keep a snack within reach.
Make a batch, freeze a few for later, and remember that you deserve to be fed and cared for, too. 🤍
This recipe is for general information and enjoyment and is not medical advice or a treatment for low milk supply.
